Are you currently trying to find additional info on Simple Steps for Installing a Shower Base?
:max_bytes(150000):strip_icc()/installing-a-shower-drain-2718985-07-5618434485054d1ba86d5256866a60a5.jpg)
Upgrading a shower room is among the extra preferred house improvement jobs. Managing the plumbing for draining your shower can be exceedingly easy unless you overdo it.
Managing Your Own Shower Drainpipe Installment Task
Whether you are a tub or shower individual, many people try to find shower only options when acquiring a house. This basic reality suggests greater than a couple of homeowners spend a weekend updating or mounting showers in their washrooms. Fortunately for you, it is a fairly basic procedure.
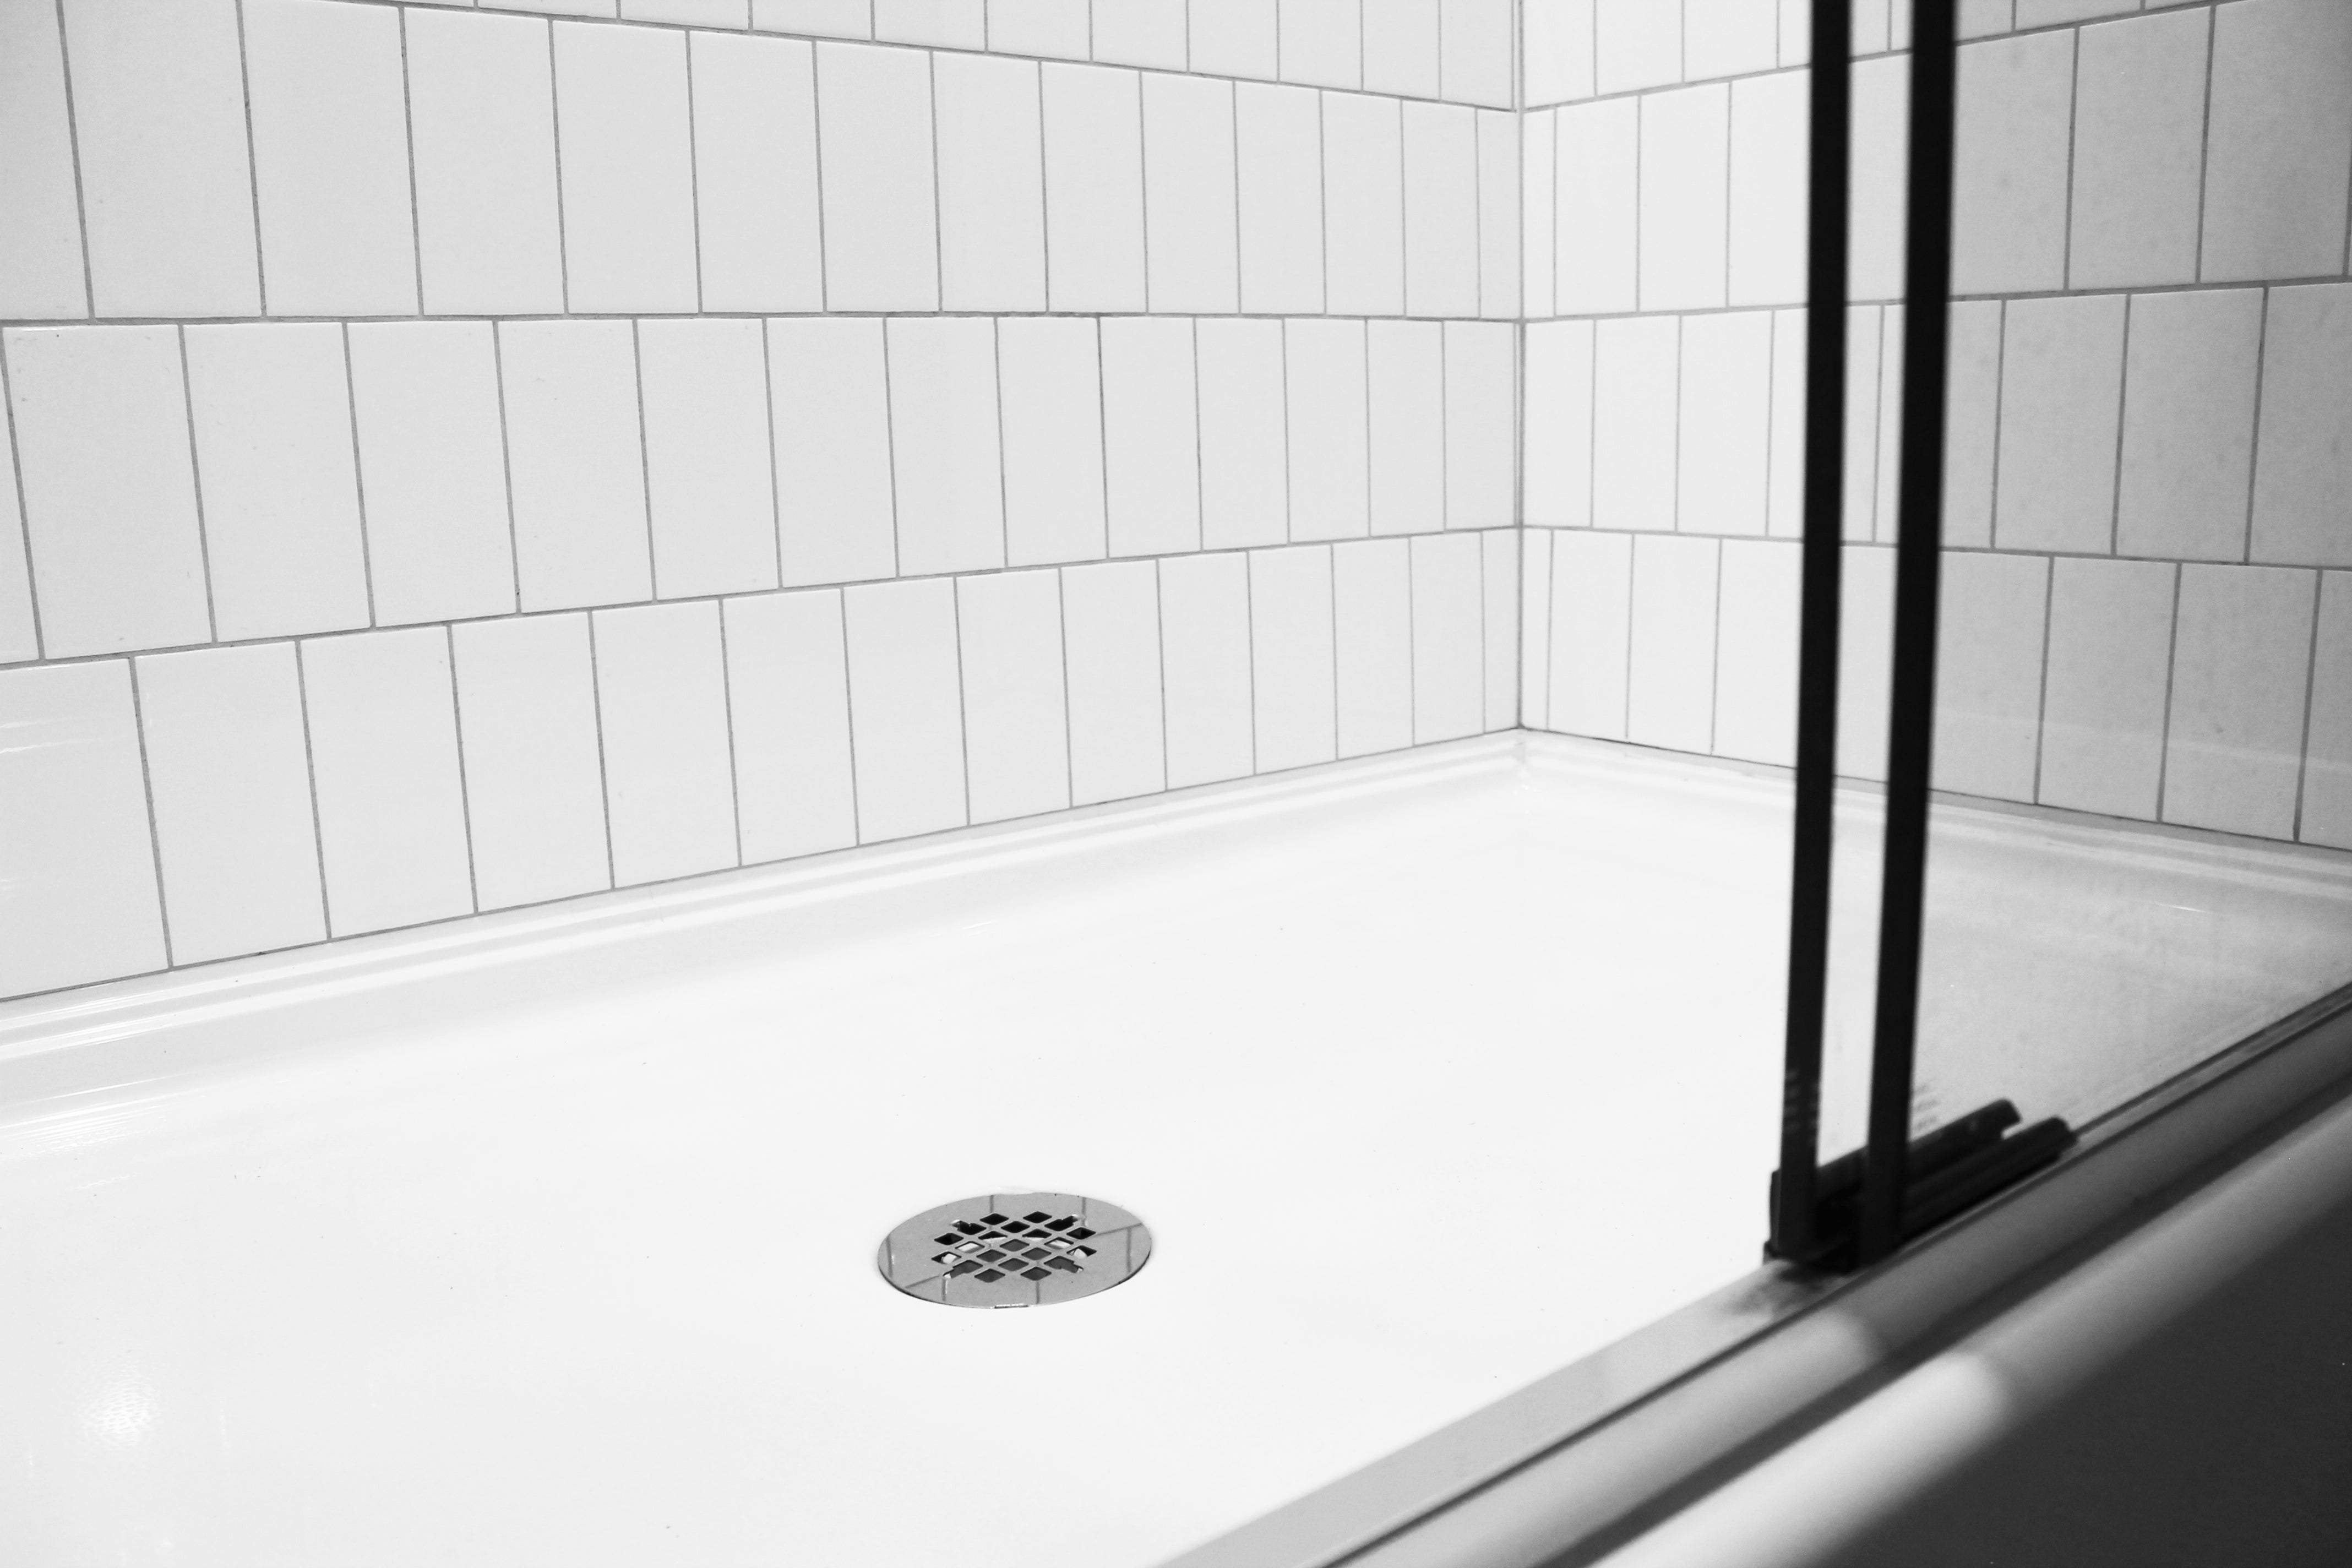
An enthusiast or frying pan refers to the straight surface area situated at the end of the shower. The enthusiast usually consists of a non-slip surface slightly banked towards the facility or any place the drain is located. Incorporated with three to 4 inch wall surfaces around the side, the objective of your shower drain plumbing is to obtain the water to stream to and also down the drain.
You can literally build a collector for your brand-new shower, however you truly need to consider it. Do you really wish to get into the difficulties of getting the sloping right, and also ensuring every aspect of it is water resistant? As well as I imply every aspect! It is a lot easier to simply purchase a pre-cast collector online or at your neighborhood Lowes, Home Depot or equipment store. Structure one may seem like a terrific suggestion, yet you will probably really feel in a different way after a couple of hrs.
Despite exactly how you deal with getting a pan, you must make every effort to make use of one that has the drain located in the very same place as the initial pan. Relocating the drain pipes can be a task, specifically if the builder used a distinct framework framework. If you are established to move the drain, you are going to have to cut down the pipeline or lengthen it, which might imply destroying huge pieces of the flooring. Rephrase, you are mosting likely to be looking at a numerous weekend project.
Assuming we have our drain lined up, the actual connect is relatively straightforward. The drain pipe ought to be facing upright as much as the collection agency. It will commonly resemble a "U", which suggests it serves as a cleanout to keep nasty smells from coming back up from the drainpipe. To attach the drainpipe, you are mosting likely to develop a water tight connection between a drainpipe cap on the top of the pan and the drainage pipe. Equipments differ, yet you are usually going to do this by placing a combining item on the top of the drain pipeline. This is after that covered with gaskets and also essentially screwed right into the drain cap. The drainpipe cap must function as a locknut, to wit, it screws directly onto the coupling.
The complicated part of this procedure is obtaining your drainpipe cap to match a leak-proof placement in the pan. This is completed by backing off the drainpipe cap when you make certain every little thing meshes. At that point, you put plumbings putty around the bottom of the cap and then screw it back on. The putty ought to form a limited seal in between the cap and also the shower pan, which keeps water from dripping under it as well as right into the mounting under the shower.
Clearly, bathroom showers come in a wide range of styles nowadays. If you acquire a collector, they usually included plumbing directions or the shop can keep in mind anything uncommon you need to recognize. It appears intricate, yet is commonly rather straight forward. Have fun!
How to DIY a Shower Drain Repair or Replacement
Verify the Source of the Leak
Pour some water down the drain using a funnel. If you don’t see signs of leakage from the drain, the leak may be coming from a worn bathtub seal. In this case, fill the bathtub with water and look for leakage between the bottom of the tub and the floor.
Determine What Drain You Need
There are two main types of drains. The options include those with a trip lever, including foot lock, roller ball, and lift and turn drains. Those with trip levers include pop-up and plunger drains. While each may have its own installation guidelines provided by the manufacturer, we’ll continue with the general process of replacing your shower drain.
Access the Drain
If there’s a cover over the drain flange, remove it. Old covers may be stuck in place, so you may need a hacksaw blade to cut it and pry it loose. But if there is no access panel, locate where the shower pipes are, place a cloth or metal plan below where you cut into the wall (to catch any water), and use a drywall saw to cut a panel on your own (you should wear safety glasses if proceeding with this step). You’ll want to cut a piece that can be put back in the same spot after the drain is replaced.
Ideally, you’ll have access to the drain parts through the shower wall. In some cases, the only option is to make an access point through a closet or bedroom.
Remove the Leaky Parts
With the drain exposed, you should see where it is leaking from. There is usually some discoloration in the area of the leak. The drain body, strainer body, or gasket can be removed with pliers while a screwdriver is needed to remove the strainer.
Repair or Replace the Drain
A shower drain repair kit can be purchased at a home improvement store. It will have instructions that will show you how to disassemble and repair the shower drain. Usually, it’s only necessary to fix the parts that are broken. You can combine old and new parts if they fit together. If the entire drain needs to be replaced, swap out all the old parts for the new ones so there are no more leaks.
Test the New/Repaired Drain
Turn on the water lightly while observing how it flows into the drain. Then check the pipes below the shower (in the basement or on a lower floor) to see if there’s any leakage. Once you verify any leak has been fixed, you can go ahead and patch up the wall (using drywall mud and a mud knife).
Ceilings that have water stains should be repaired. Cut away the affected section and replace with a piece of drywall and drywall mud. This eliminates damage caused by the leak and lets you find and mitigate other potential issues such as mold.
https://www.blackhillsinc.com/blog/how-to-diy-shower-drain-repair-replacement/
I was brought to that editorial on How to Install or Replace a Shower Drain through an acquaintance on another domain. Appreciated our post? Please share it. Let other people discover it. Thank you for your time invested reading it.